Edit my safe and blocked sender lists
Control which email is sent to quarantine by adding a specific email address, domain or IP address to either your Allow List or Block List. Email from allowed senders won’t go to quarantined, while email from blocked senders will.
- Sign in to your GoDaddy Advanced Email Security page (use your GoDaddy username and password).
- Select Sign in to Advanced Email Security. The sign-in page will open.
- Enter your email address, select Sign In, and then Sign In With Microsoft.
- Follow the onscreen prompts to sign in with your Microsoft 365 email address and password. The Advanced Email Security portal will open.
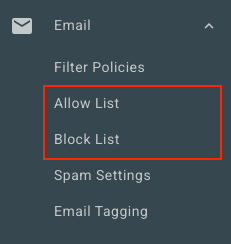
- On the leftmost side, select Email. Depending on whether you want to add a sender to your Allow List or Block List, select an option:
- Allow List: Select Allow List. In the upper-right corner, select Add Allow Entry.
- Block List: Select Block List. In the upper-right corner, select Add Block Entry.
- Under Allow or Block the following, enter an email address, domain or IP address. Separate each sender with a comma or semi-colon, or by entering it on a new line.
- Select Save.
Edit Allow and Block Lists for all users
If you're an admin, you can view and edit the Allow and Blocked Lists for all users in the organization.
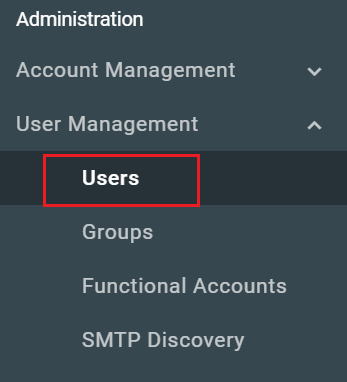
- On the leftmost side, select User Management, and then Users.
- Select the Name/Email Address of the user you want to edit.
- At the top of the page, select either Allow List or Block List, depending on which list you want to edit.
You can see and edit each user's list by repeating these steps.